If I could shoot one type of image the rest of my life it would be photos of the night sky. The stars have always made me curious and being able to put show people why I love the night sky is amazing.
A basic star shot is awesome and fun but there’s other ways to spice up the shot and make it more visually interesting, the star trail. I’ve been asked quite a few times on my Instagram how to shoot and process a star trail image so here’s a step by step guide on how to make a simple star trail photo.

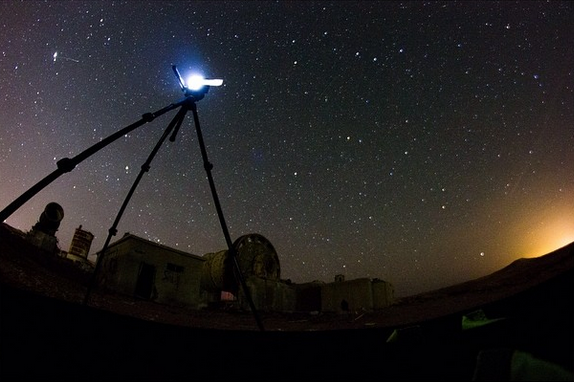
1. Gather your DSLR, fast lens, tripod, and intervalometer and hike to a sky free of clouds, city light pollution, and moonlight. You need a dark clear sky to make this work.
2. Find an interesting composition. Gnarled trees, old buildings, your car, etc. make a great foreground object to show or silhouette in front of a starry sky or forget the foreground and shoot a sky with only stars. Clouds will cause problems in the final image.
3. Compose your shot on a solid tripod and take a few test images. Make sure the shot is framed well and exposed properly. If you’re shooting a dark night sky you will probably be shooting a 30 second exposure at a high ISO wide open on your lens. Each camera and situation is different. Experiment and find what works.
4. After your shot is properly composed and exposed attach an intervalometer and set it to take a photo every minute or so. Your interval will depend on how long you want to spend out at night. You can shoot a short star stack or a long one. Just depends on what you want. Some of my favorite star stacks have been composed of around 300 frames which means hours out under the stars.

5. After your night of shooting is over go home and edit your photos. Adjust white balance, exposure, and whatever else needs to be done. I’m a huge fan of Lightroom for this part as you can edit one photo and sync your settings to all your photos. It’s fast and simple. You could also use Photoshop or another photo editing program. After the edit, export the images from Lightroom as JPEG files into a folder, with the title of your sequence, to your computer.
6. Download StarStax software and import your JPEG files from the folder you exported to. From here, click the “process” button and watch your images stack and form star trails. Once completed export the final image.
This is a simple way to create a stacked star image. There’s also more advanced ways to do this in Photoshop and actually you can do a similar effect in After Effects for night time lapse video sequences.
Questions? Ask away in the comments and I’ll get back to you!
Derrick Lytle is a regular contributor to the Mountainsmith blog and a Mountainsmith ambassador. View his profile to find links to all of his social media channels.