Timelapse photography is all the rage right now and for good reason. With a simple DSLR it’s possible to shoot mind blowing scenes that aren’t seen by the naked eye. The good news is that you probably have all the necessary gear to start shooting your very own timelapses. It may seem like a daunting task but here’s a step by step guide with a few tips to help get you started shooting a time lapse that will make all your friends jealous.
Equipment for a Successful Timelapse
There’s a few things you’ll need to shoot a basic timelapse.
- DSLR (Canon, Nikon, Olympus, etc.)
- Intervalometer
- Tripod
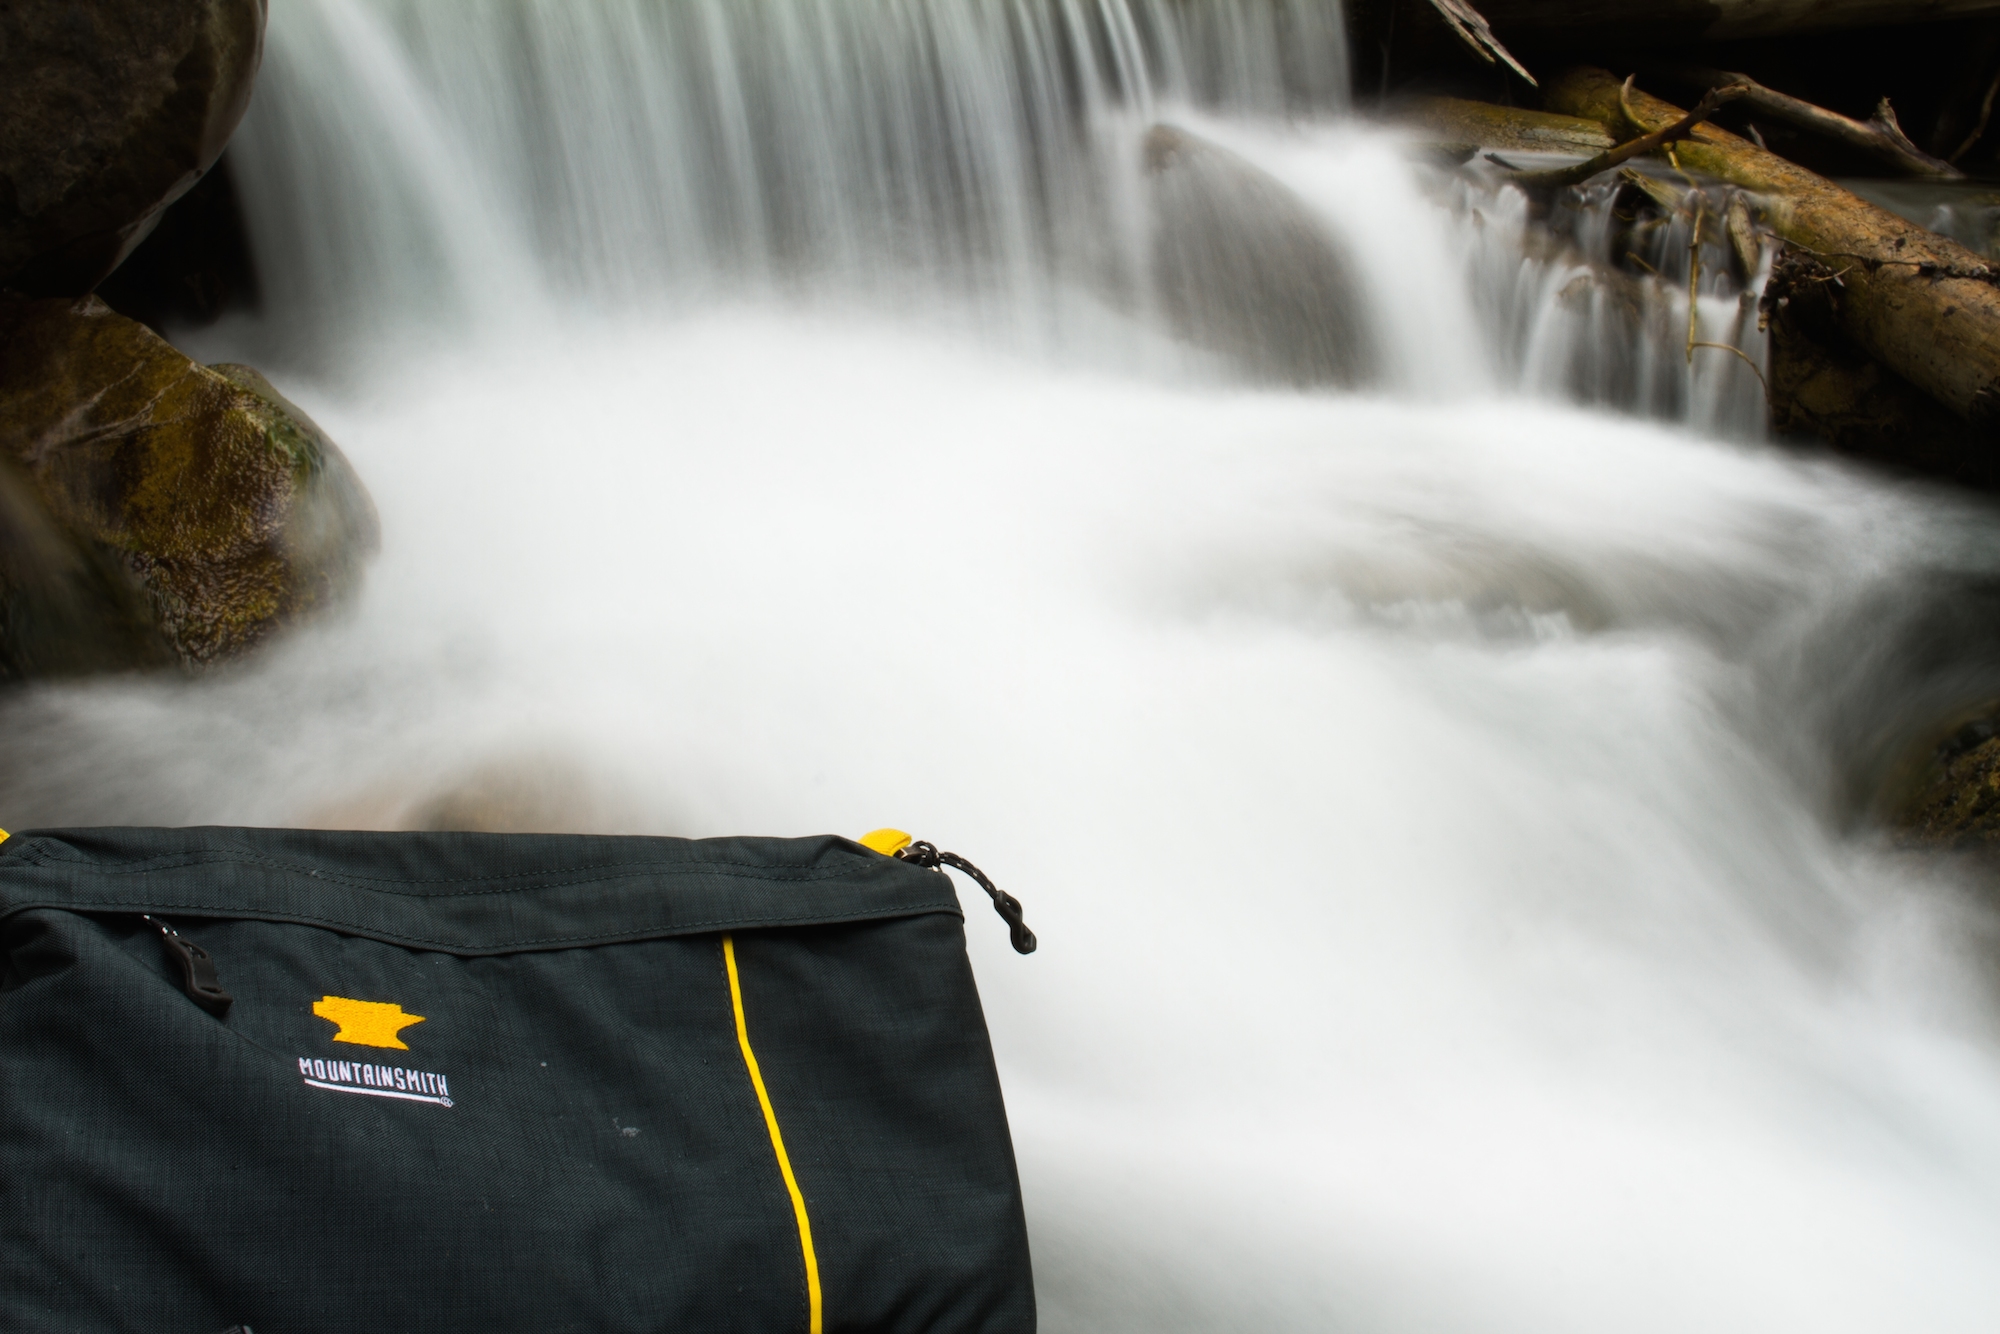
- Camera bag to carry your gear
Using a DSLR is vital for a clean timelapse. Shoot RAW images with manual shutter speed, aperture, white balance, neutral picture style, and turn off any auto lighting settings on your camera. Shooting in manual mode will help prevent flicker in your finished timelapse. All cameras are different so read through your user manual if you have any questions. I’d recommend not using your brand new camera when learning how to shoot a timelapse. You’ll put a lot of shots on your shutter so an older camera (I learned on my Canon 20D) will do just fine and actually produces great sequences. Some people use GoPros or other point and shoot cameras for timelapses but these are not ideal since you can’t control everything manually.

An intervalometer allows you to choose how often your camera takes a photo and then does so automatically. It’s common to use a remote intervalometer that plugs into a port on your camera but some newer Nikons have this feature built into the firmware. Canons don’t but Magic Lantern is a free alternative if you choose to go that route.
A sturdy ball head tripod will give you the best results in your time lapse. You need a solid tripod to prevent camera shake.
Shooting an interesting time lapse usually requires hiking or walking to a fun location. Be sure to use a good bag to transport your gear.
Choosing a location and Subject
Look for motion when choosing a scene to time lapse. Clouds, water, people, and cars all make great subjects. Try to imagine how the shot will look when put in motion. Will there be enough motion to draw in the viewer’s attention? Or, will it just look like a static photo. Look for motion.
Tip: Video is usually shot in 16:9 so the 4:3 image coming out of your camera will be cropped. Your beautiful photo might not look so great when it’s cropped so keep that in mind when composing a shot.
Setting up and Shooting
Once you find your location and subject set up your camera in a place where it will not be bumped, moved, or touched. The smallest movement can cause camera shake in your final video so avoid anything that could cause vibration; Wind, people walking on a bridge, and water can all cause camera shake so be hyper aware. Spending hours shooting an amazing sequence only to go home and see it wrecked is not fun.
The interval between exposures will vary for each time lapse you shoot and depends on how close the subject is to your camera, your shutter speed, and how quickly the subject is moving. If it’s closer to your camera you’ll want a short interval to avoid a jumpy looking sequence. If the subject is farther away you can have a longer interval. Experiment to find what works best. Having a fast memory card is helpful if you have a short interval to prevent missed shots from the camera buffer filling up.
Remember video is shot at around 24 or 30 fps so if you want a 10 second clip at 24 frames per second you’ll need 240 images. Keep that in mind when deciding what interval to shoot at.
Processing a Time Lapse
Ok, so you made it home, you have a few hundred RAW images for your time lapse sequence. Now, it’s time to see how well it’s going to turn out. There’s a ton of ways to process your sequences but the easiest, in my opinion, is in Adobe Lightroom. Simply import your images to LR, edit one image, sync the settings to all the photos, and then export as jpegs. Now with the hundreds of images all in one folder you can import an “image sequence” into Adobe Premiere. Premiere will then import all your images as one video file. Play the clip and you’ll see what you got.
There’s many ways to process a time lapse so don’t feel constrained by this very basic example. Photoshop, AferEffects, Camera Raw, Aperture, Quicktime Pro, LRTimelapse, and Final Cut (How many did I miss?) can all be used. Find what works best for you.
Now that you’re basically a time lapse pro here’s a few tips:
- Manual Lens or shoot wide open (avoid flicker)
- ND Filters for longer exposures (helps prevent flicker)
- Something to do while shooting ( Books, movies, etc)
- Extra batteries
- New memory card for each sequence
- Check the weather.
What questions do you have? Feel free to leave a comment below!
Follow me for more timelapse videos, tips, and photos.
Great Post!!! I look forward to trying this out soon. Thanks for the tip! This is Great!!!
Thank you! Let us know how your shots turn out.
This is awesome! Thanks for taking the time
To write this up, I will def be using it for reference on my next lapse!
Hey there! Graet tutorial! One question though. In the video some of the shots look as if the camera is actually moving. Is this the case and if so how is that done while shooting the time lapse?
Hey, William
I’m glad you liked the tutorial! For the moving shots I used a time lapse slide using the shoot move shoot method. Essentially, the camera moved along a 6 foot rail during the time lapse taking a picture, moving a short distance, and then taking another picture. I used the Stage Zero slider from Dynamic Perception
Here it is in action on my Instagram. I was using a three foot rail instead of the six footer. http://instagram.com/p/eH5cyeTZLk/
Interesting blog post. The things i would like to bring up is that laptop or computer memory needs to be purchased but if your computer can’t cope with anything you do by using it. One can deploy two random access memory boards with 1GB each, as an example, but not one of 1GB and one having 2GB. One should look for the maker’s documentation for the PC to make certain what type of ram is needed.