Mountainsmith added new team member Stephen Serna in May of 2013. With 11 years of experience working at REI, he has become the resident expert in fitting a backpack. He has taken on the role of Customer Service & Warranty Coordinator at Mountainsmith, and shares his knowledge with you here:
The only way we can build pack for you is to build them “to” you. Whatever adventure you’re on, whether it’s you’re summiting a 14er, trail-running, bike commuting, or thru-hiking, we built our packs with your movement and activity in mind. All of Mountainsmith’s technology is forged for this purpose. Our Delta Wing Compression system transfers your pack’s load to your body. Our Iliac Crest Shelf cup takes your gear’s weight and secures it to your frame, and our Lumbar Control Point Pad finishes the fit to “lock” your pack down. The best way to take advantage of all our technology has to offer is make the fit work for your body.
A pack fit is more than strapping yourself in. The fit is truly dialing in every detail of your straps so you have a secure and great feeling pack. The best part is a pack fit is easy and in no way a chore. The following steps will get you from your hatchback to the trailhead in no time.
1. Adjust the torso length
If you have one of the following backpacks from the current Mountainsmith line, the first step would be adjust the torso length: Apex 100, Apex 80, Lariat 65, Juniper 55, Lookout 50, Youth Pursuit. These packs adjust four to six inches in torso length, for torsos from 13″ to 22″. The shoulder straps slide up and down the aluminum back stays to fit different users. To release the shoulder yoke, reach behind the waist belt and back pad for a piece of 3/4″ webbing running to two tension devices on either side of the belt. Release the tension devices and move the shoulder straps to the desired position. Once in place, tighten the webbing through the tension device to hold in place.
The following video will help you adjust torso length, and get started fitting your pack:
If you need help determining your torso length, this video from our friend’s at Backpacker Magazine is helpful.
Note: Our Ghost 50 has and adjustable torso length, but it uses a Velcro ladder system with three settings.
2. Load the pack correctly, and loosen the straps
The first step is loading your pack. Before I fit a pack, I always start by saying “center of gravity is the name of the game.” While you’re loading your pack keep this in mind. Keep heavy items closer to your body and toward the middle of your back. Stuff your lighter-weight gear lower and away from your body to secure the heavy items against your back. I make sure that the pack straps are loosened so I can have the full range of tightening the straps.
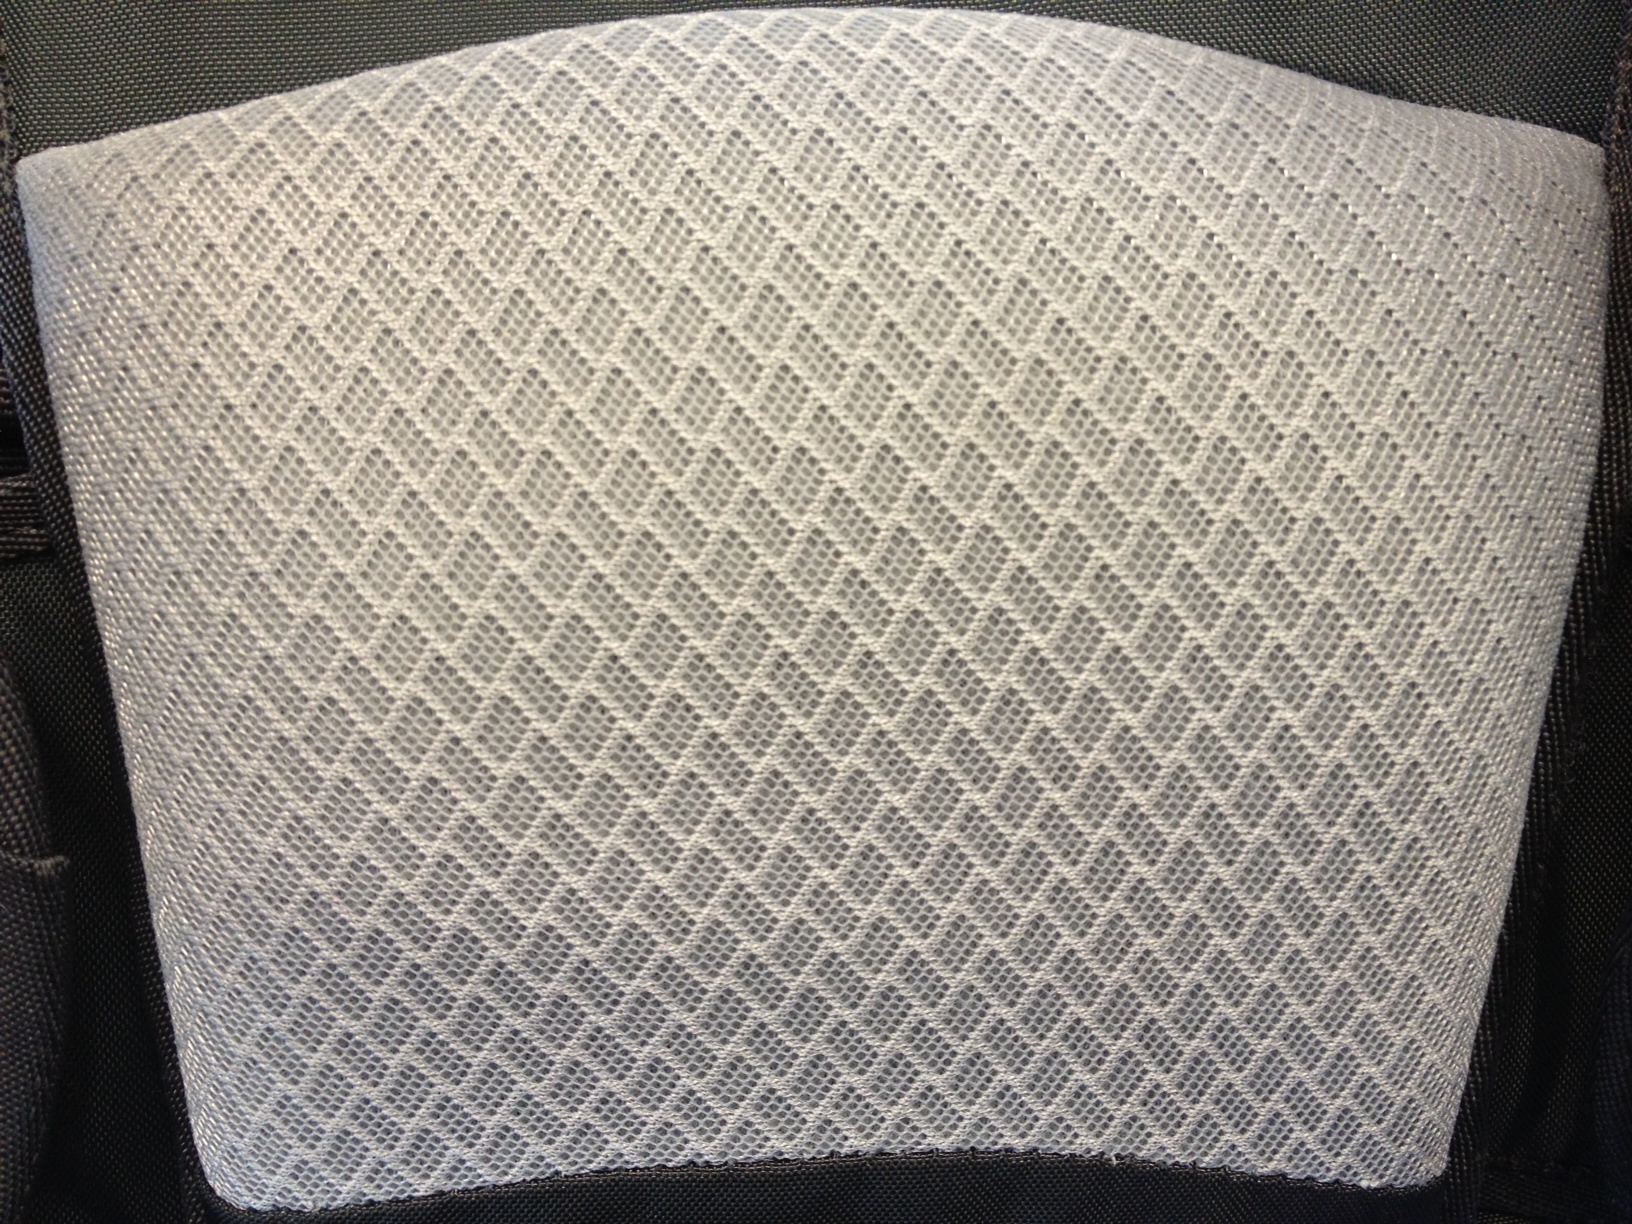
3. Utilize the Iliac Crest Shelf to support the waist belt
The next step is to locate your iliac crest. This is the uppermost and widest bone of your pelvis. An easy way to find it is to point to your belly button, now draw a line horizontally across your waistline to your side and that bone is your iliac crest. The iliac crest is very important to pack fitting. The crest creates an optimal shelf to carry your pack. Anywhere below this point, and your gear is no longer on the shelf and your waist is no longer carrying the weight. A typical weight-distribution balance is 40% on your shoulder and 60% on your waist. Our Iliac Crest Shelf Cup Waistbelt was built to carry 70% of the pack’s weight. If your pack is too low, eventually the pack will slide down which puts greater burden on your shoulders.
4. Tighten the shoulder straps
Speaking of shoulders, that 30% of weight is not pressing down against the top of your shoulders, but against the front of them. After tightening the load against the waist, the next step is to pull your shoulder strap downward and back toward your rear pants-pockets. I pull my shoulder straps to the point where the strap starts to give. Anywhere past this point can create pressure on your neck, shoulder, and chest. I grab a buddy or look in the mirror to see what kind of space is right behind my shoulder. There shouldn’t be a lot of space between your back and the pack, only about two finger’s width of space. If there is no space then the pack is too small and you are back to carrying too much weight on your shoulders.
5. Clip the sternum strap
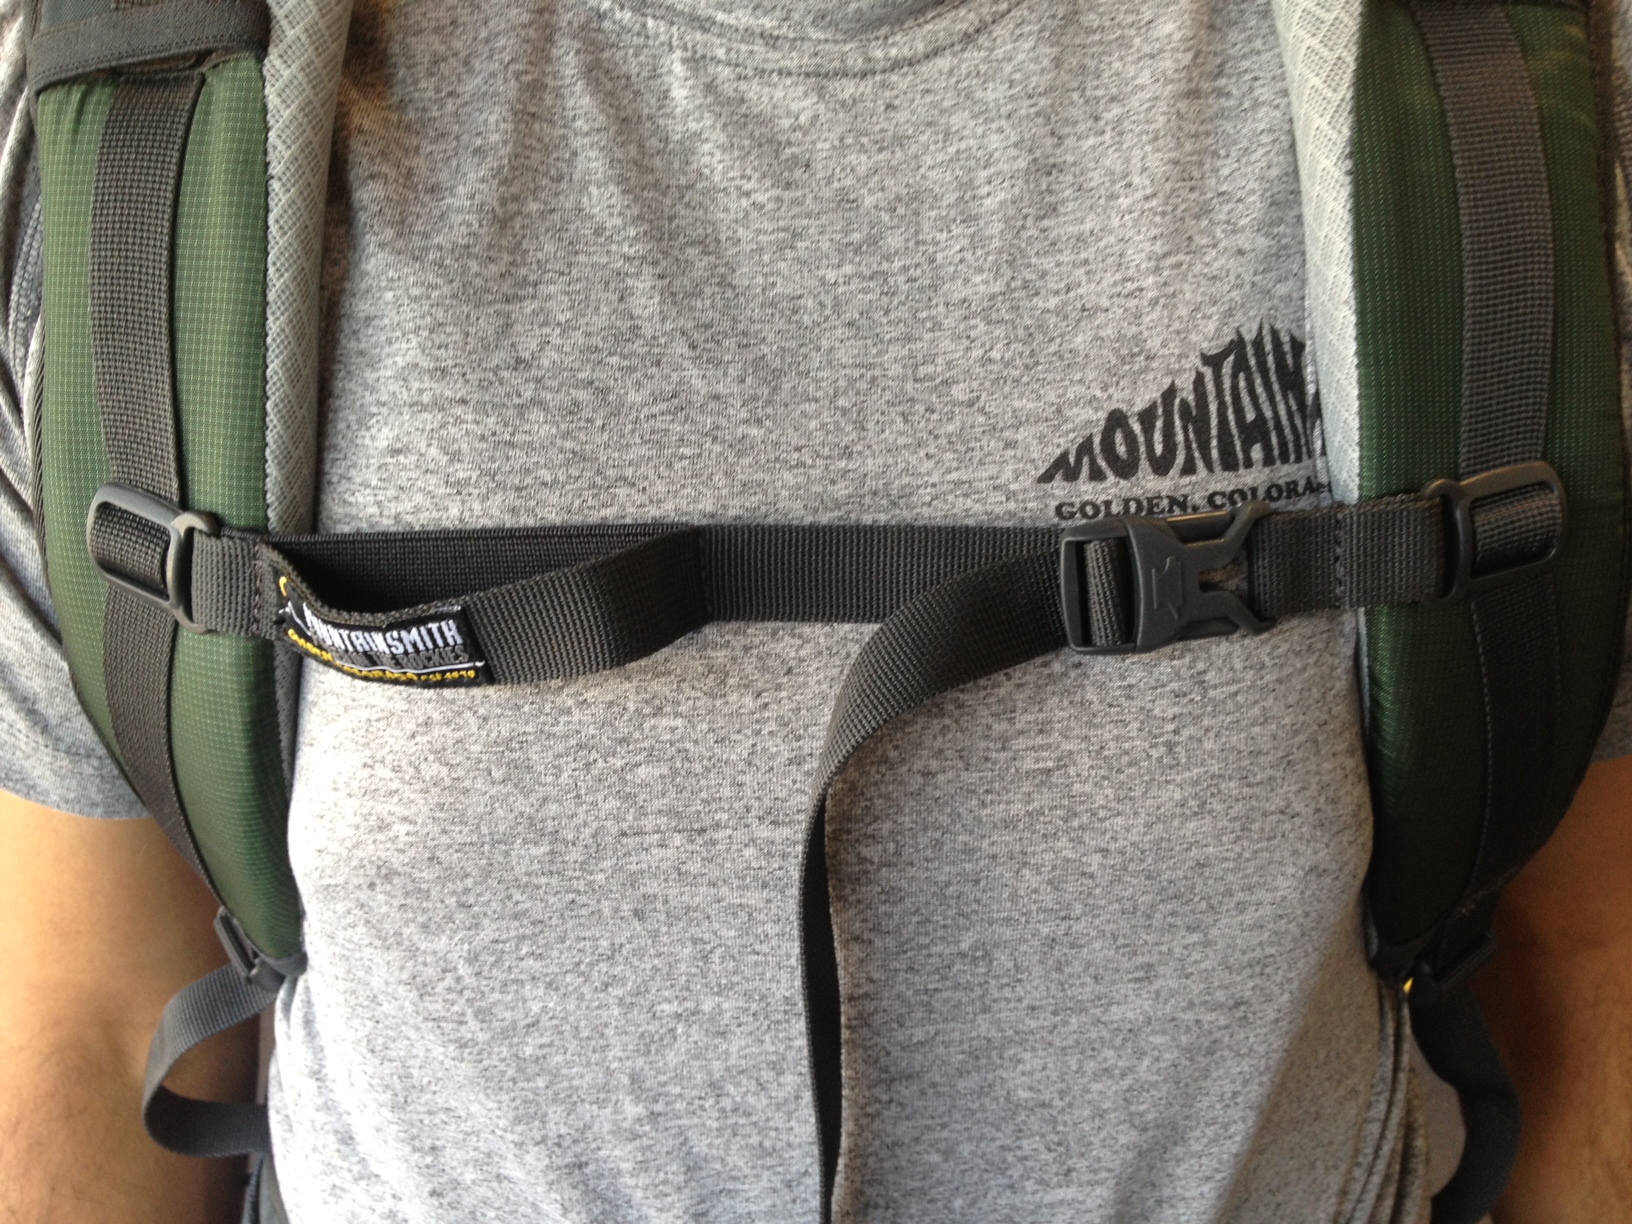
The sternum strap is a great addition to keep your body neutral. Without the use of your sternum strap your shoulders get pulled back and over-extended. The perfect height is if you were to draw that imaginary line from the top of your arm pit and across you chest. Our sternum straps conveniently slide upwards and down to get your perfect fit. Tighten it to the point where the strap begins to give. Again, over-tightening can cause some discomfort.
6. Raise the pack’s weight with the load lifters
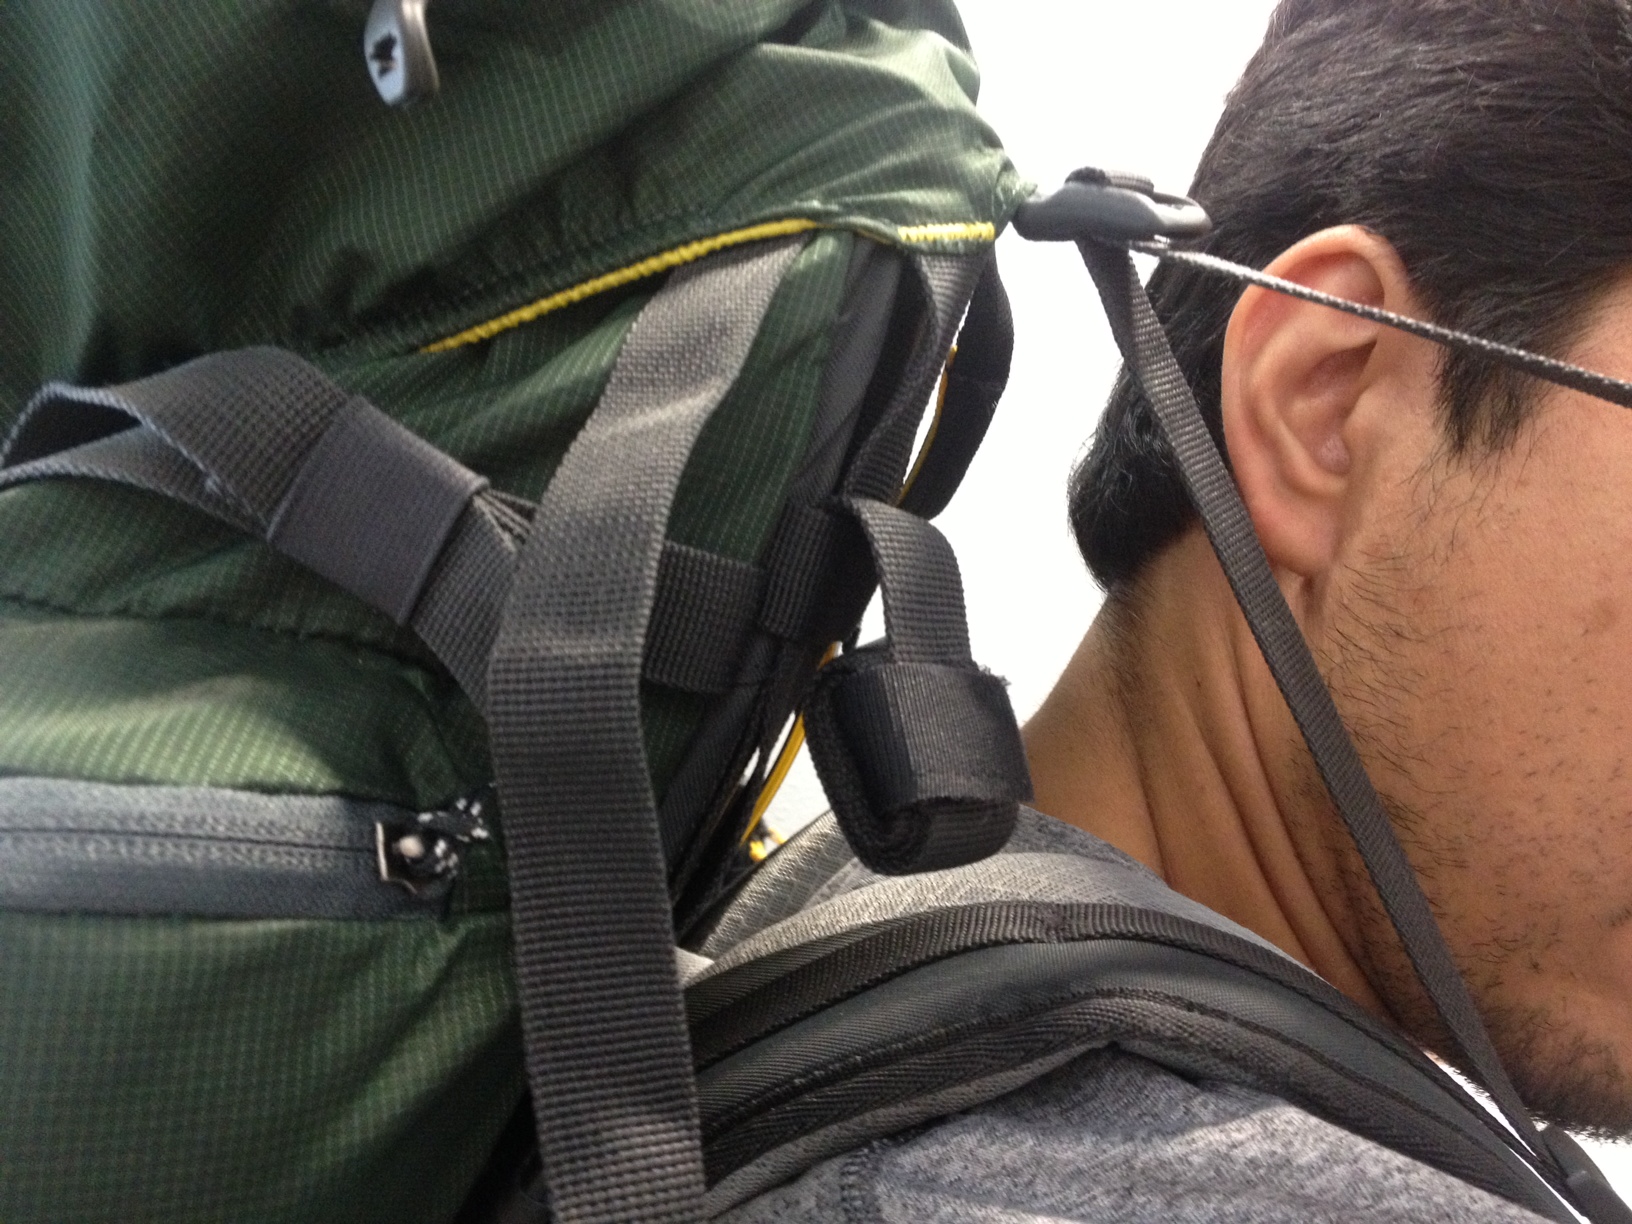
Next, adjust your load lifter straps. There is a tri-glide buckle that changes the angle of the load lifter strap in relation to the shoulder strap and the pack. Slide the buckle forward or backward to the point where it rests forward just above the collarbone. Pull forward to tighten and the same rules apply to the rest of your straps.
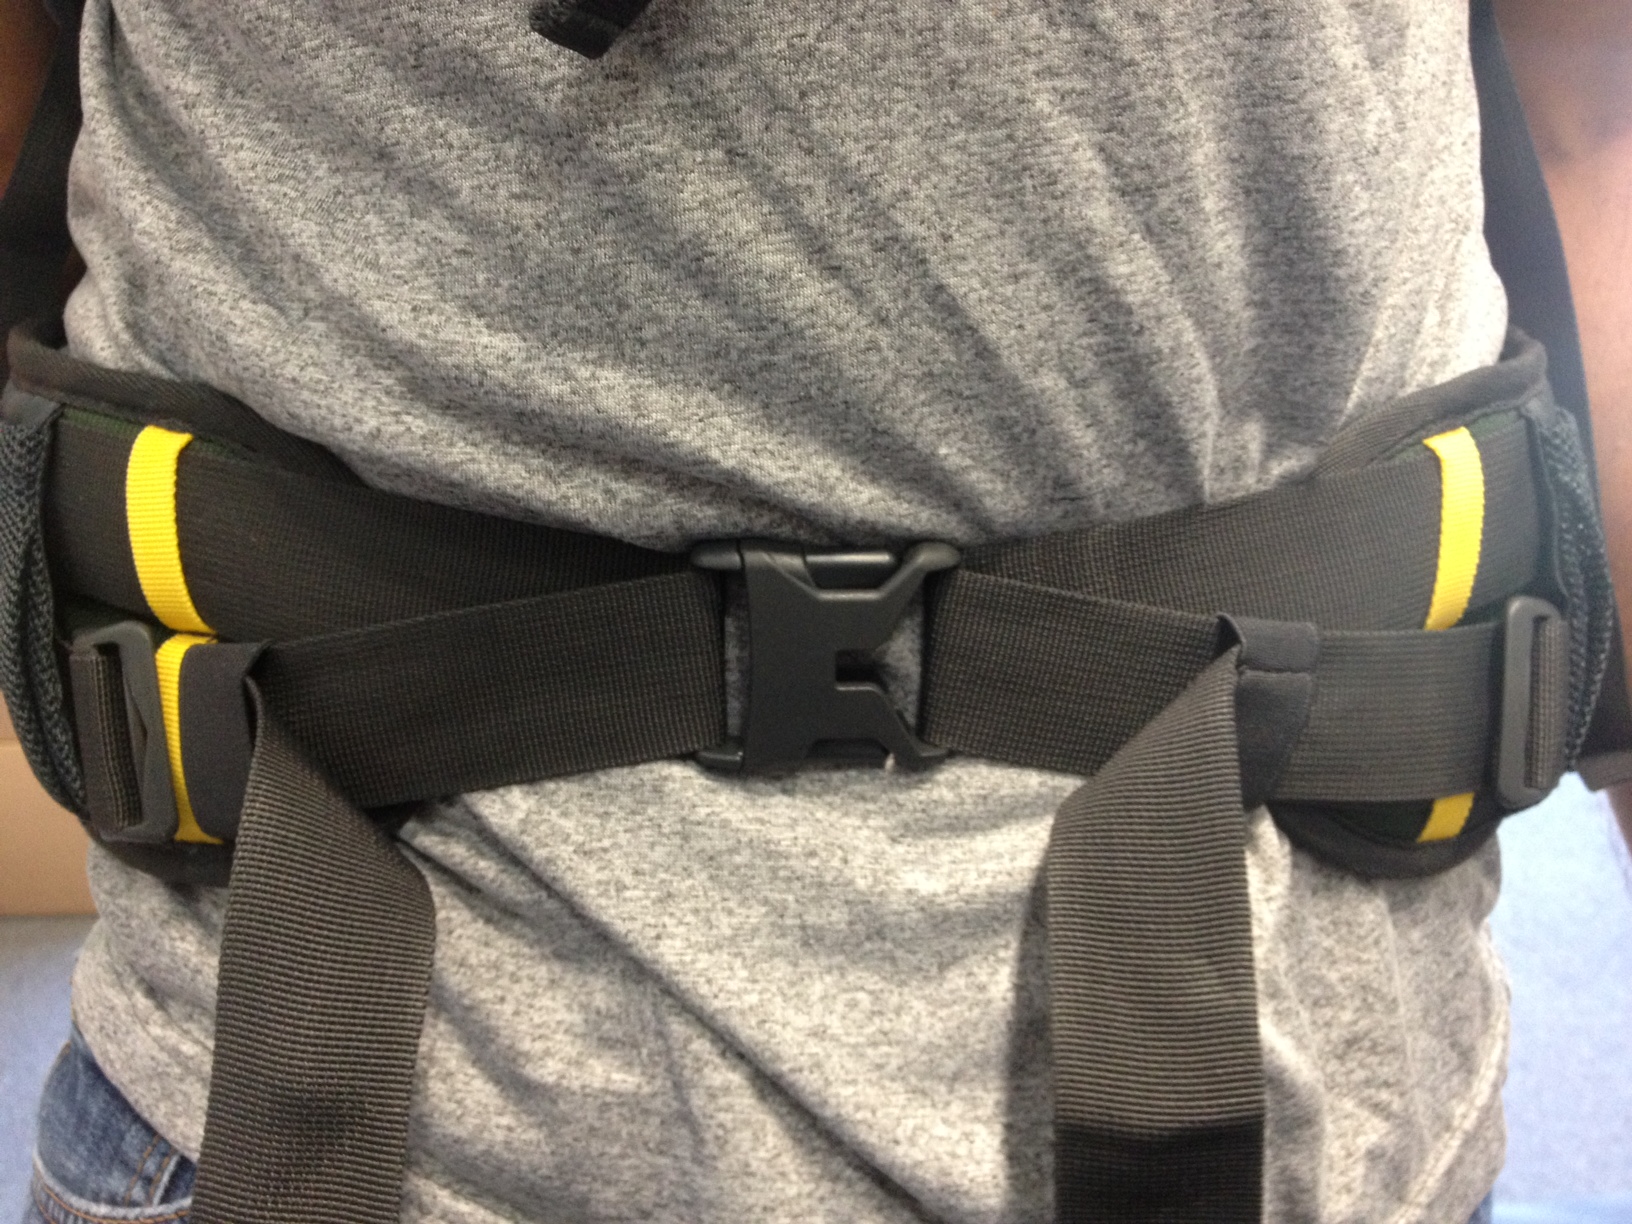
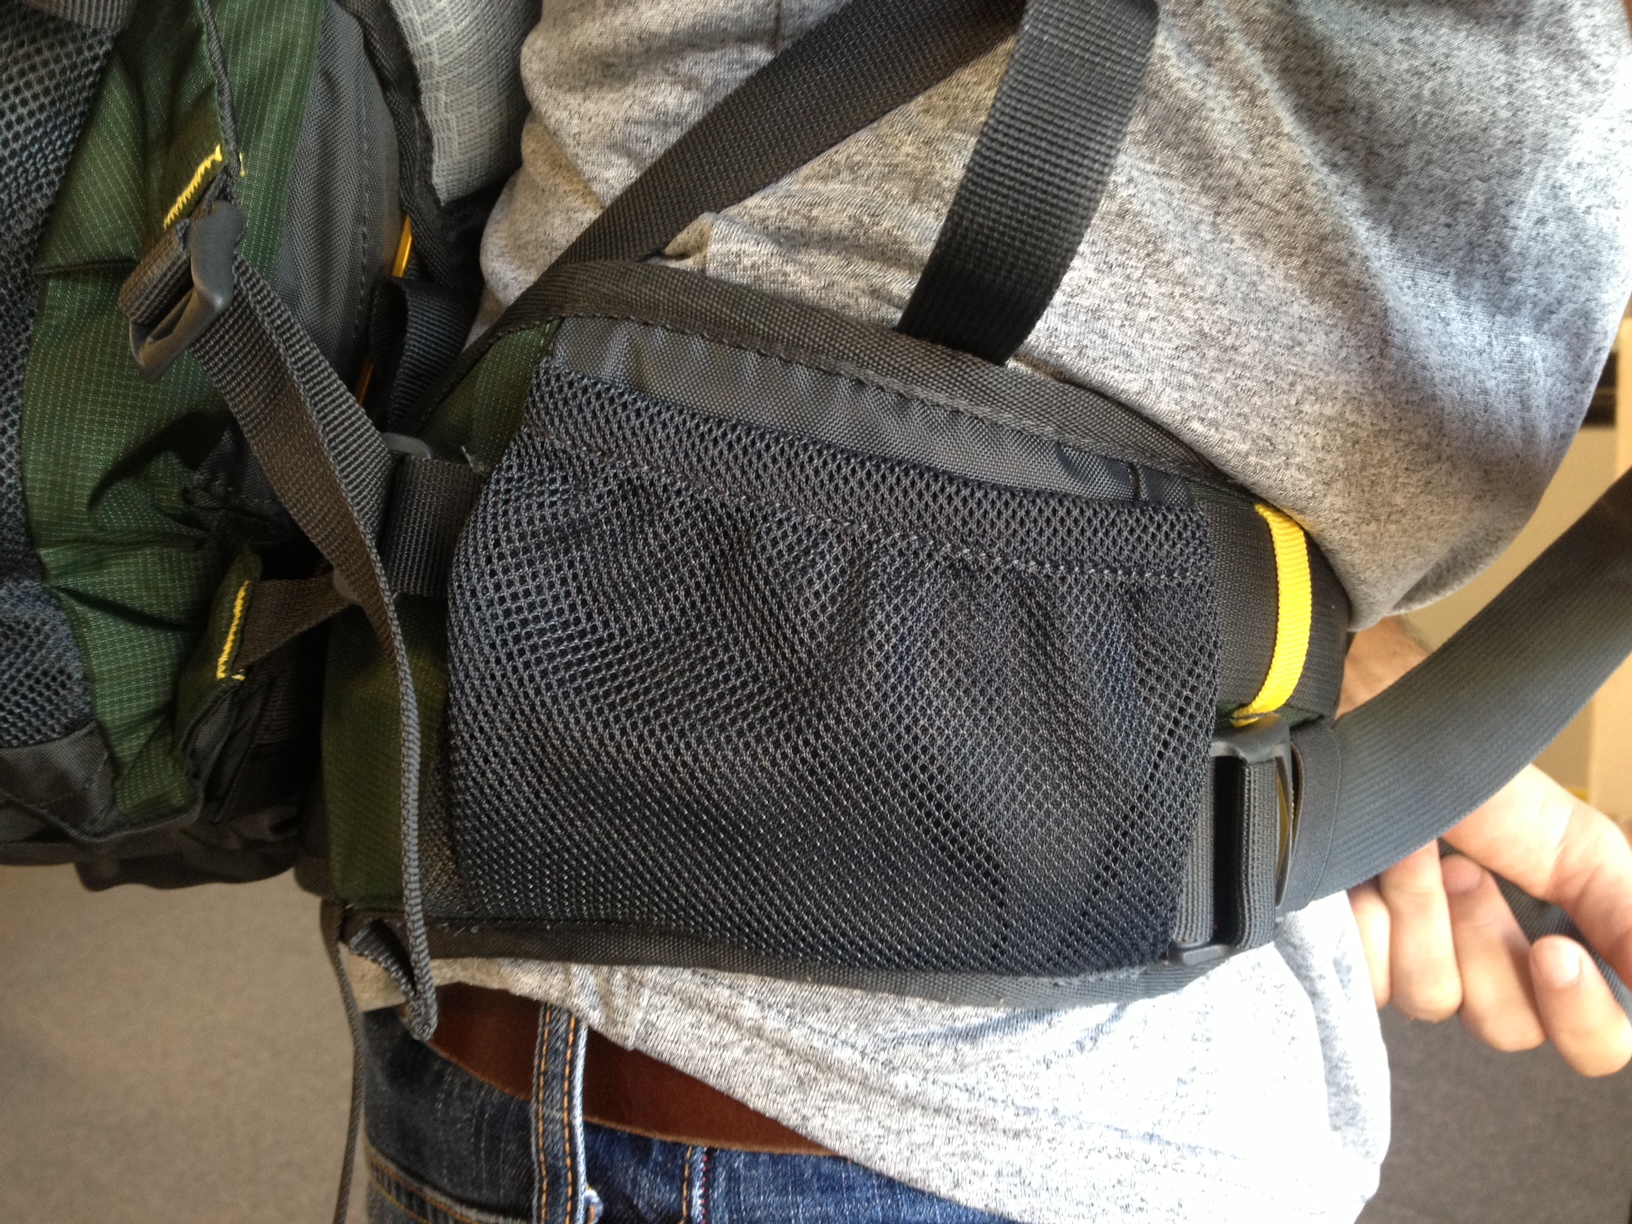
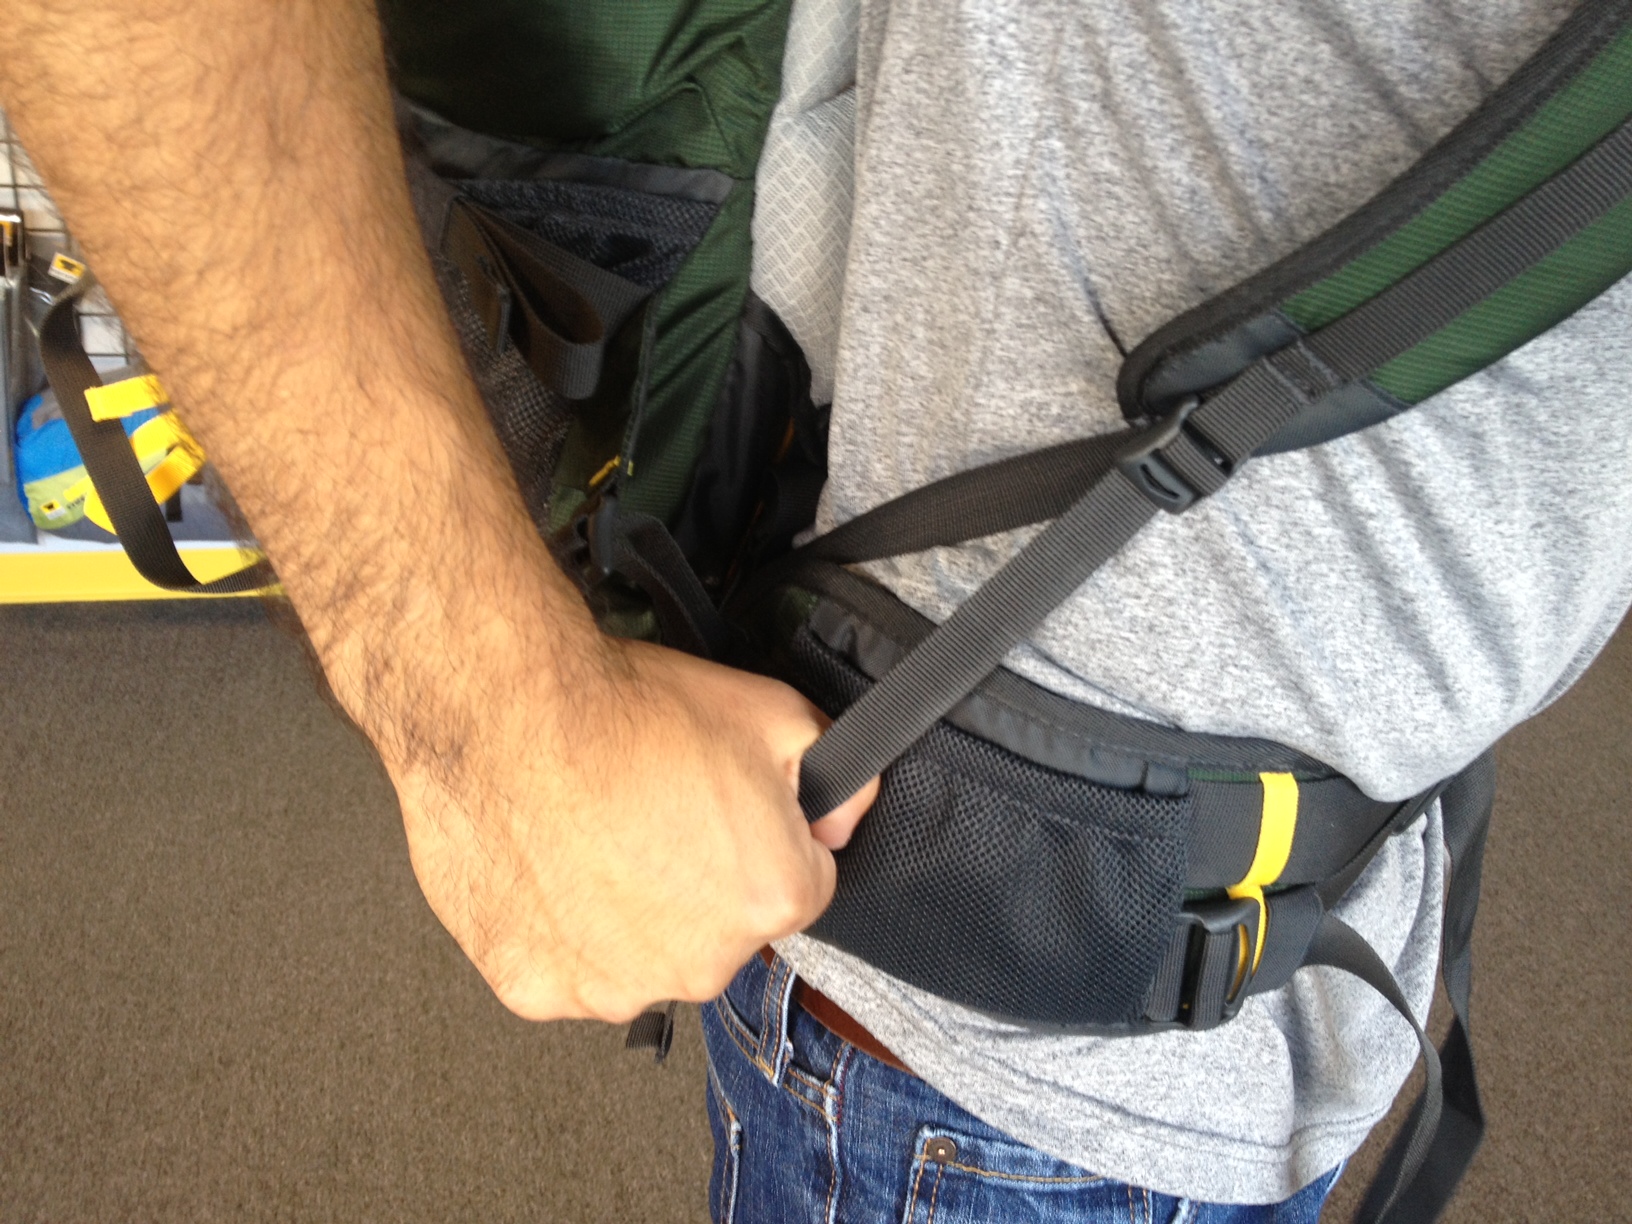
7. Pull the weight close to your body with the Delta Compression Strap
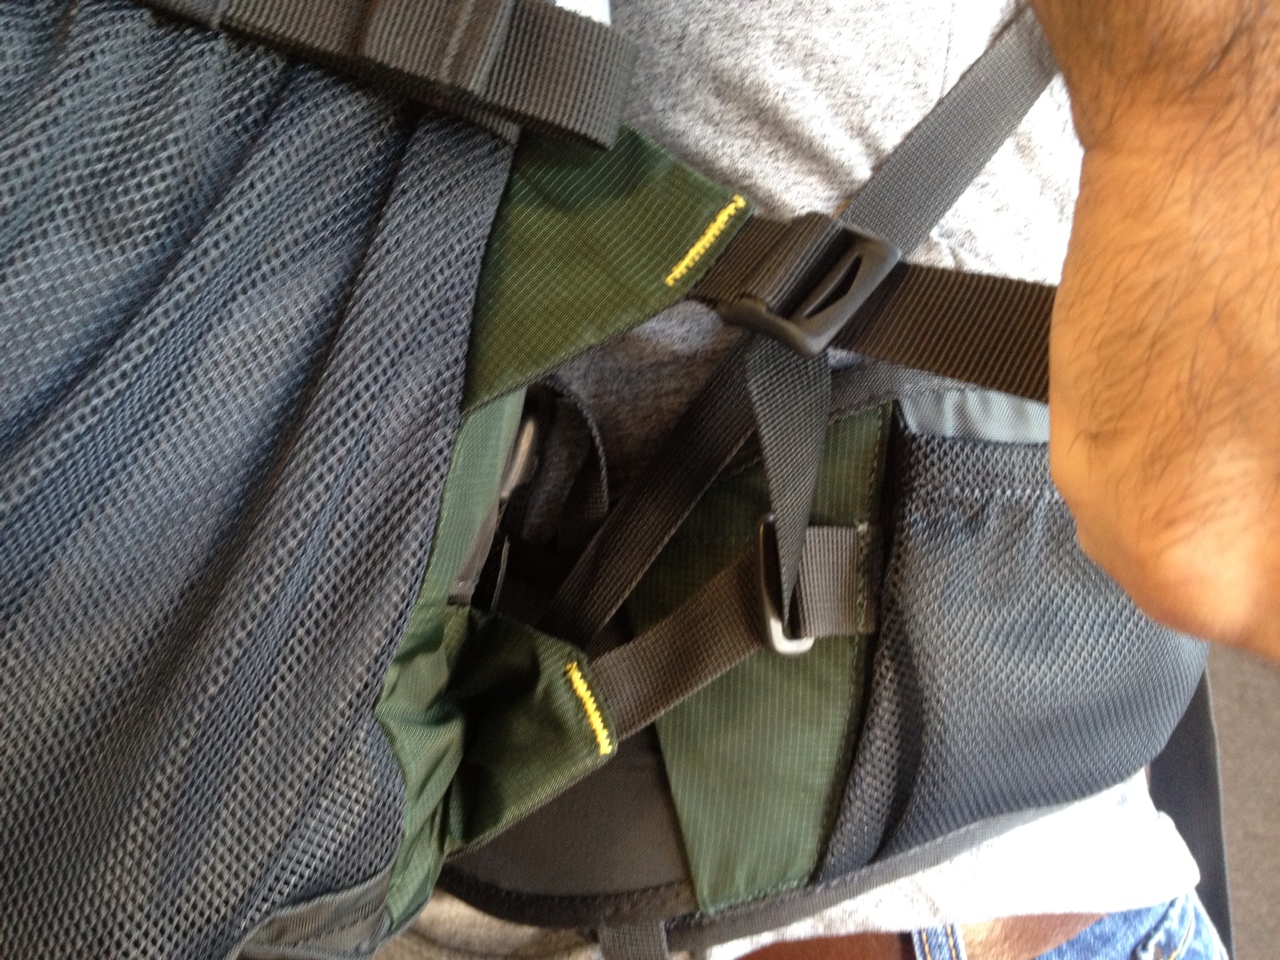
Lastly, use the Delta Compression Strap to pull your pack’s center of gravity close to your body’s. Find the straps at your hip and pull forward. This will feel like your pack is giving you a hug. Yes, it feels that nice. This is the feature that ensures that 70% of the weight is felt on the hips, leaving just the remaining 30% on your shoulders. That 70% will ride on your skeletal system, which allows you to stay on the trail longer than ever.
8. Adjust as necessary over the first mile of your hike
Now, the first part of your hike is tightening, loosening, and generally tuning in your pack. Do whatever feels right and don’t be afraid to experiment with different combinations of adjustments. If you take off your pack loosen the straps, especially the Delta Compression straps and the load lifter. This will set you up to get that hugging feeling again.
You will feel the definite difference when you have a well-fitting pack and should help propel you to greater miles and on to more challenging routes.
I just bought one of your backpacks at a Flea Market here in Colorado Springs. I’m not sure which model it is, it is Teal and Black in color. It appears to have a torso adjustment for 5′ and 5′ 6″. My wife and I are just getting into backpacking. I got this one for her. WOW, didn’t know there could be so many adjustments on a pack… The information contained in your Fitting/Adjusting a Mountainsmith backpack was EXTREMELY helpful, especially for a novice. Thank you for putting such good and detailed information out there. I can hardly wait to get out and hit some trails.
Thanks again
Greg Speckman
Hi Greg,
So great to hear you found one of our packs in such great shape. We build them to last, and we are always pleased to hear when one of our older packs finds its second or third owner and brings them on just as many adventures as the first owner. If you happen to have any questions, please don’t hesitate to reach out to us on our customer service inbox: websales@mountainsmith.com Happy backpacking!
I have a Mountainsmith Backbowl backpack that my son borrowed and got skunked. So he washed the pack but now we can’t figure out how to re attach the hip belt and shoulder straps correctly. Do you have a manual or instructions on doing that?
Thanks very much…Dan
Hey Dan,
We did some rooting around our catalog archives and were unable to find a diagram of the shoulder straps and waist belt. Our veteran employees do remember the pack well though, so if you could send us a couple photos of the back panel, shoulder straps, and waist belt; we can probably give you some instructions on how to re-install the suspension system. Please send images to websales@mountainsmith.com.
Thanks,
The Mountainsmith Team
I am looking at the Mountainsmith Lookout 60L. This will be the first backpacking bag that I have purchased. I have 2 Boy Scouts, ages 14 and 16. I am wondering what the torso length is and also that waist measurement.
Hi Chasidy, thanks for reaching out! Sorry for the delay here. Are you still looking at the Lookout?
Hi I just purchased a teal and black pack it has a lot of adjustments but unsure on how to properly fit it to me it’s in New condition and curious on the age and any info you could give me thank you
Hey Tim! Thanks for reaching out. Shoot us an email at service@mountainsmith.com with a photo of the pack and Dan will be able to help out in terms of fit, tips, etc.